
As engineers, one of the essential tools we've always relied on is the terminal, due to its efficieny and speed that allows us to execute commands directly and quickly without the overhead of navigating through Graphical User Interfaces (GUIs). This is very useful for tasks like file management, system administration and building a project. One of us probably consumes a lot of time to work extensively in a single terminal and we need to open another terminal to do another tasks. In this article, we'll explore how tmux can help us avoid that.
With flakes:
nix profile install nixpkgs#tmuxTo check if it is correctly installed:
 tmux -V
tmux 3.5asudo dnf install tmux -ysudo apt install tmux -ysudo pacman -S tmuxTo configure your tmux,If you don't have a configuratio file yet, you
can reate a ~/.tmux.conf. Since I am using
vim now, here is my command:
$ vim ~/.tmux.conf
After you have your configuration file, you can begin editing it. To give you an overview, here are the main sections you might want to add or configure in tmux. I'll go over each of these configuration steps with my own setup
By default, tmux uses C-b (Ctrl + b) as
the prefix key. This means that to issue most tmux commands, you need to
press C-b first, but we are going to change it to C-z (Ctrl + z).
set -g prefix C-z
To reload the configuration, Binds the . key to reload the tmux configuration file,
which is useful for quickly reloading any changes made to ~/.tmux.conf and
bind . source-file ~/.tmux.conf
The reason for using unbind in tmux configuration is to ensure the keys are not already bound to any other function before you reassign it.
unbind C-b
unbind C-l
unbind "'"
unbind '"'
unbind -n M-left
unbind -n M-right
unbind -n M-up
unbind -n M-down
unbind %
unbind Space
unbind !
unbind -n C-Left
unbind -n C-Right
unbind -n C-Up
unbind -n C-Down
This section enables vim-like navigation to make tmux more user-friendly.
# vim keys
setw -g mode-keys vi
This makes the navigation keys h, j, k, and l behave like they do in vim.
Next, the configuration customizes the arrow keys to efficiently navigate between tmux windows.
bind Left  previous-window                                     #1
bind Right next-window                                         #2
bind Up    swap-window -t -1\; previous-window                 #3
bind Down swap-window -t +1\; next-window #4This section customizes keys for creating new windows and moving windows around.
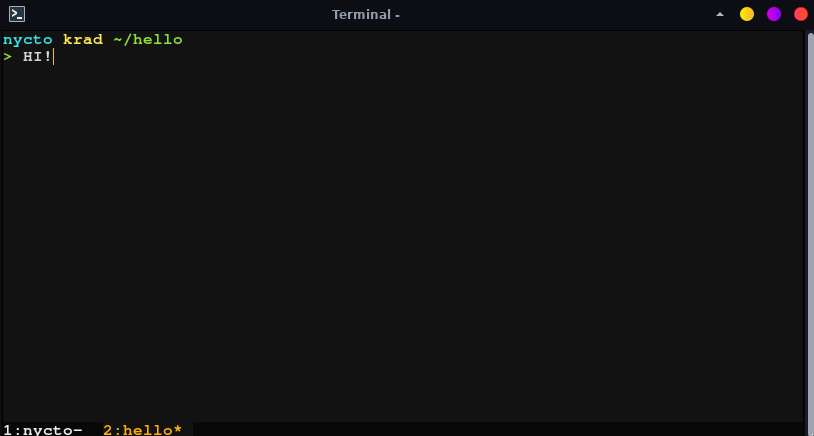
bind c new-window -c "#{pane_current_path}"                    #1
bind C new-window -c ~ #2c to create a new window in the
current pane's directory.C to create a new window in the
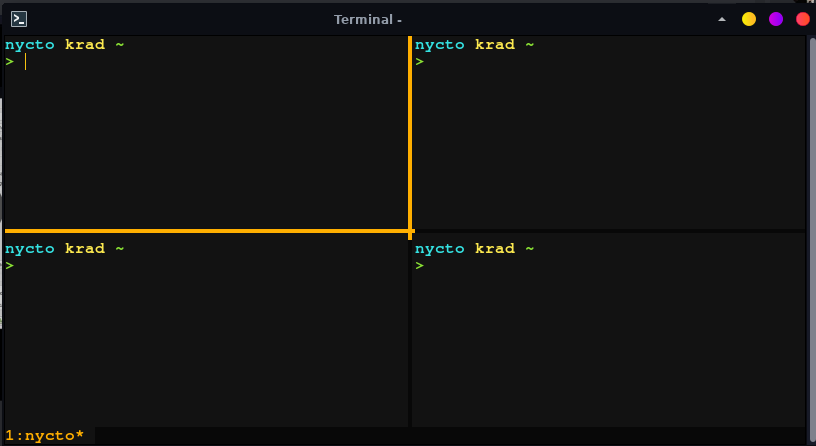
home directory (~).This section binds keys for splitting the terminal into multiple panes and for switching between the first to the last window.
bind "'" split-window -v -c "#{pane_current_path}"              #1
bind / split-window -h -c "#{pane_current_path}"                #2
bind v split-window -h -c "#{pane_current_path}"                #3
bind Space last-window #4' to split the current pane
vertically, and the new pane will inherit the current directory./ to split the pane
horizontally, again inheriting the current directory.v to also split the pane
horizontally, just like /.set -g default-terminal "screen-256color" #1
set -g default-shell $SHELL #2
set -g base-index 1 #3
set -g history-limit 100000 #4
set-option -ga terminal-overrides ",screen-256color:Tc" #5
set-option -g automatic-rename on #6
set-option -g automatic-rename-format '#{b:pane_current_path}' #7screen-256color, which supports
256 colors and is ideal for
terminal-based applications, including tmux.$SHELL,
which is the value of the shell currently used in your terminal (e.g.,
bash or zsh).screen-256color.(pane_current_path) of the
active pane, which can help identify the purpose of a window based on
its directory.This section customizes the appearance and behavior of tmux windows and panes.
set-window-option -g mode-keys vi #1
setw -g window-active-style 'bg=#181107' #2
setw -g window-style 'bg=#181107' #3
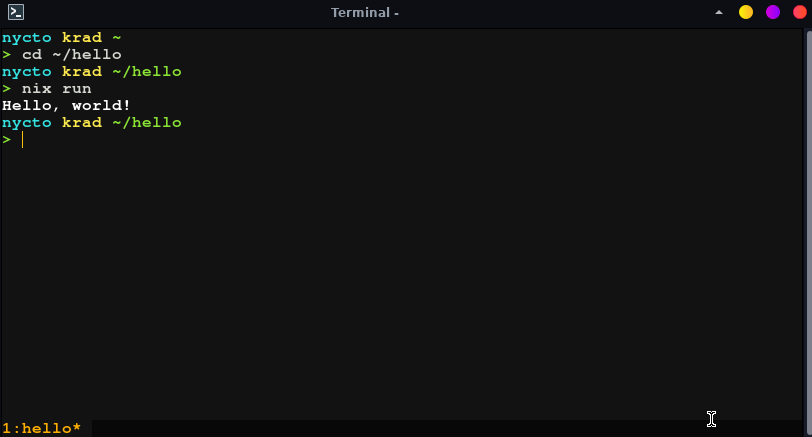
setw -g window-status-format "#I:#W#F " #4
setw -g window-status-style 'fg=white,bg=#090702,bold' #5
setw -g window-status-current-format "#I:#W#F " #6
setw -g window-status-current-style 'fg=orange,bg=#181107,bold' #7
set -g status-interval 1 #8
set -g status-position bottom #9
set -g status-bg "#090702" #10
set -g status-fg "#D4D4D4" #11
set -g status-left '' #12
set -g status-left-style 'fg=orange,bg=#181107' #13
set -g status-right '#{prefix_highlight}' #14
set -g status-right-length 50 #15
set -g status-right-style 'fg=orange,bg=#181107' #16
set -g pane-border-style 'fg=#090702,bg=#181107' #17
set -g pane-active-border-style 'fg=orange,bg=#181107' #18
set -g pane-border-lines 'heavy' #19h, j, k, l).#181107.#181107, which helps maintain a consistent color
scheme.#I), window name (#W), and the window flags (#F).#090702.(#D4D4D4).(#{prefix_highlight}) in the right section of
the status line.This section sets up the plugins for tmux, allowing you to enhance its functionality with various tmux plugins.
set -g @plugin 'tmux-plugins/tpm'
set -g @plugin 'tmux-plugins/tmux-resurrect'
set -g @plugin 'tmux-plugins/tmux-sensible'
set -g @plugin 'tmux-plugins/tmux-yank'
set -g @plugin 'tmux-plugins/tmux-continuum'
set -g @plugin 'tmux-plugins/tmux-prefix-highlight'
set -g @continuum-restore 'on'
set -g @plugin 'christoomey/vim-tmux-navigator'This enables the tmux plugin manager which simplifies the installation and management of tmux plugins.
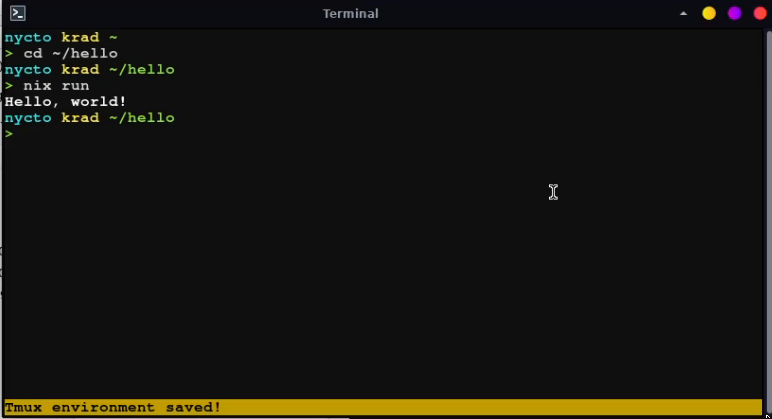
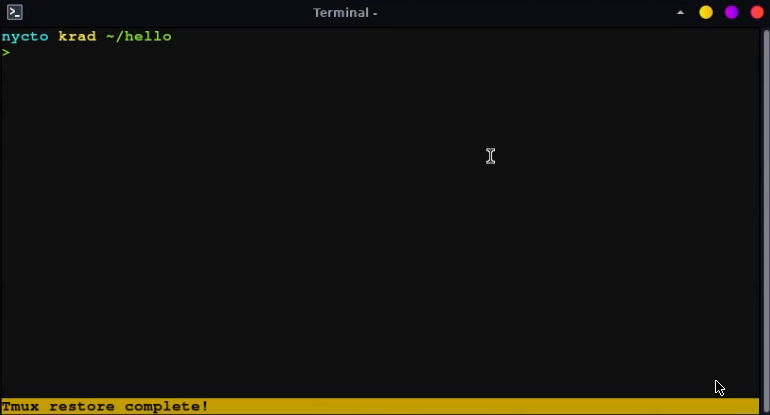
tmux-resurrect plugin saves and restores tmux sessions, windows, panes, and their contents.
tmux-sensible plugin provides a set of sensible default tmux configurations for a better out-of-the-box experience.
tmux-yank plugin allowing us to copy and paste text between tmux and the system clipboard.
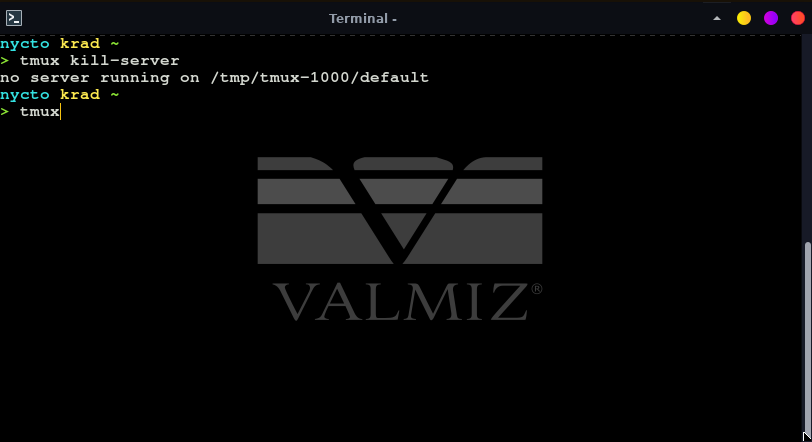
tmux-continuum ensures that tmux sessions are automatically saved and restored across reboots.
tmux-prefix-highlight highlights
the prefix key (e.g., Ctrl + z) when it is
pressed, helping you identify when tmux commands are being
triggered.
Ensures that tmux-continuum automatically restores your tmux session when tmux starts up.
Vim-tmux-navigator plugin allows
seamless navigation between vim and tmux panes using the same
keybindings (e.g., h, j, k, l).
Finally, this line loads the tmux plugins configured above.
run '~/.tmux/plugins/tpm/tpm'This loads the tmux plugin manager (TPM) and installs the plugins
that have been specified. To install the plugins, you can just use C-z I.
This sections will show you my favorite and important features while using tmux.


On this tmux setup we've walked through, you can now use tmux with such great smooth transition by customizing the default key bindings, integrating plugins, and tailoring tmux's appearance to suit your preferences. By using tmux, you can optimize your terminal environment and make your development process even more productive. Feel free to explore further tmux plugins and configurations to continue improving your setup. Happy tmuxing!